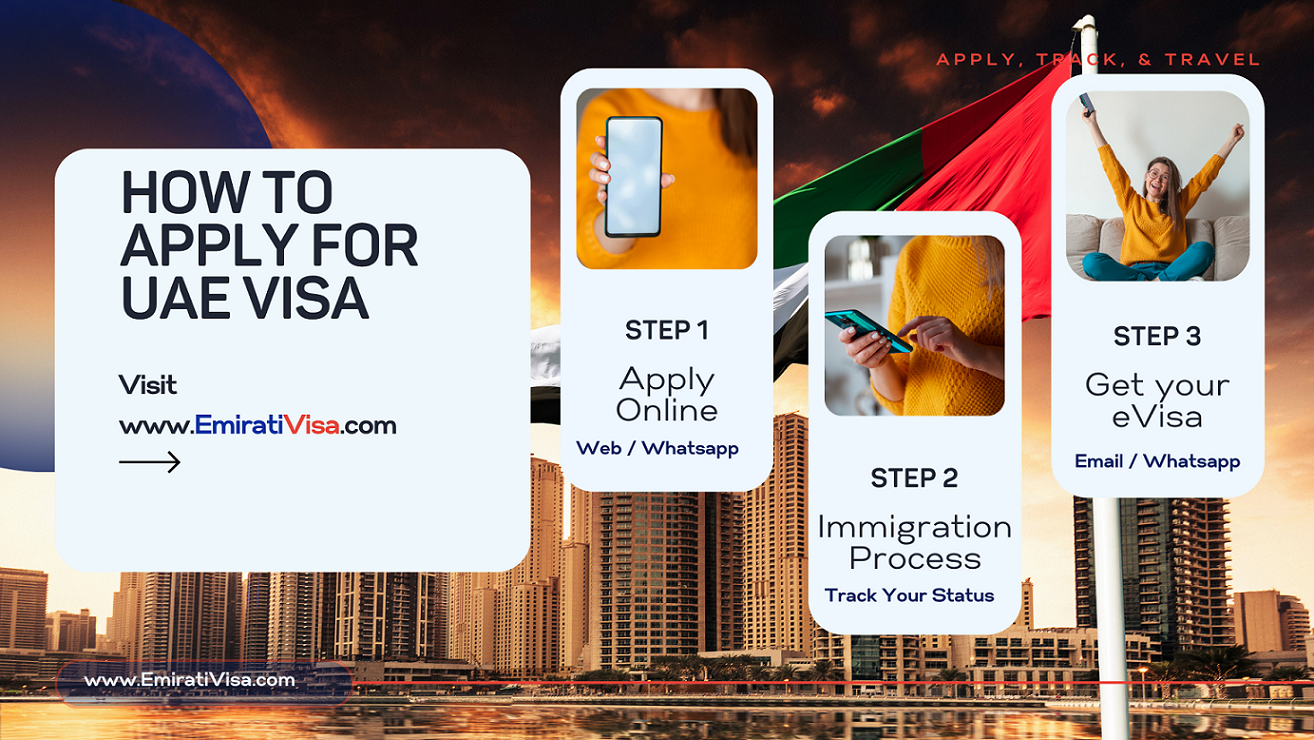
Welcome to the UAE visa application process! To ensure a smooth experience, please follow the step-by-step guide below.
Step 1: Fill Out the Visa Application Form
Select Your Visa Type:
● Click on the dropdown list under “Select Your Visa Type“.
● Choose the appropriate visa type from the list.
● Ensure you have selected a valid visa type before proceeding.
Journey Start Date:
● Click on the date field labeled “Journey Start Date“.
● Select the date when your journey is scheduled to begin using the date picker.
● Make sure to enter a valid date.
Return Date:
● Click on the date field labeled “Return Date“.
● Select the date when your journey is scheduled to end using the date picker.
● Ensure you enter a valid return date.
Salutation:
● Click on the dropdown list under “Salutation“.
● Choose your salutation (Mr., Mrs., Miss, etc.) from the options provided.
● Make sure to select a valid salutation.
Family Name / Sur Name / Last Name:
● Enter your family name, surname, or last name in the text box provided.
Middle Name:
● If applicable, enter your middle name in the text box provided.
Given Name / First Name:
● Enter your given name or first name in the text box provided.
Gender:
● Click on the dropdown list under “Gender.”.
● Select your gender from the options provided.
● Make sure to select your gender.
DOB (Date of Birth):
● Click on the date field labeled “DOB“.
● Select your date of birth using the date picker.
● Ensure you enter a valid date of birth.
Mobile Number:
● Enter your mobile number in the provided text box.
● Ensure you enter a 10-digit mobile number without any special characters.
Email:
● Enter your email address in the provided text box.
● Ensure you enter a valid email address.
Address, City, State, Pincode:
● Enter your address, city, state, and pincode in the respective text boxes.
● Make sure to enter valid information for each field.
Nationality:
● Click on the dropdown list under “Nationality“.
● Select your nationality from the options provided.
● Make sure to select a valid nationality.
Passport Type:
● Click on the dropdown list under “Passport Type“.
● Select your passport type (Ordinary, Diplomatic, Official, etc.) from the options provided.
● Ensure you select a valid passport type.
Passport Number:
● Enter your passport number in the provided text box.
● Make sure to enter your passport number accurately.
Date of Issue:
● Click on the date field labeled “Date of Issue“.
● Select the date when your passport was issued using the date picker.
● Ensure you enter a valid date of issue.
Date of Expiry:
● Click on the date field labeled “Date of Expiry“.
● Select the date when your passport expires using the date picker.
● Ensure you enter a valid date of expiry.
Passport Issuing Country:
● Click on the dropdown list under “Passport Issuing Country“.
● Select the country where your passport was issued from the options provided.
● Make sure to select a valid passport issuing country.
Place of Issue:
● Enter the place where your passport was issued in the provided text box.
● Ensure you enter the correct place of issue.
Step 2: Upload Required Documents
Select Document Type:
● Choose the type of document you want to upload from the dropdown list (e.g., Passport First Page, Airline Ticket, Accommodation Details).
● Make sure to select the correct document type for each upload.
Choose File:
● Click the “Choose File” button to select the document file from your device.
● Ensure the file you choose is in the accepted format and within the specified size limits.
Upload Document:
● Hit the “Upload” button to initiate the document upload process.
● Repeat these steps for each document you need to upload.
Step 3: Review and Submit
Review Information:
● Double-check all the information you’ve provided in the visa application form.
● Ensure all details are accurate and all necessary documents have been uploaded.
● Make any necessary corrections before proceeding.
Submit Form:
● Click on the “submit” button to send your visa application along with the uploaded documents.
● Wait for a confirmation message to appear indicating that your application has been successfully submitted.
Step 4: Confirmation
Confirmation Message:
● After submitting the form, wait for a confirmation message to appear.
● Keep a copy of the confirmation for your records.
Congratulations! You have successfully completed the UAE visa application process. If you have any questions or need assistance, feel free to contact us.
